Once you have started a batch in Breww and transferred it to one of your vessels, you can package your beer into products. Packaging in Breww is a straightforward process; navigate to Production -> Actions -> Package, where you will be prompted to select which vessel you would like to package from (see image below).
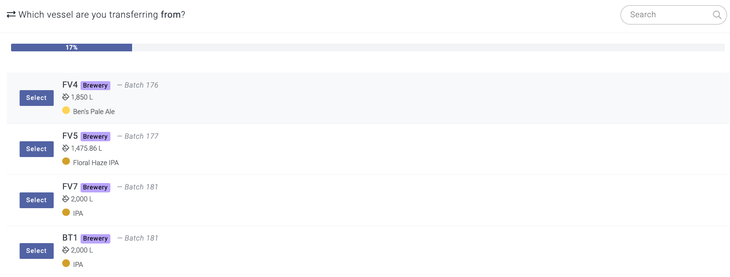
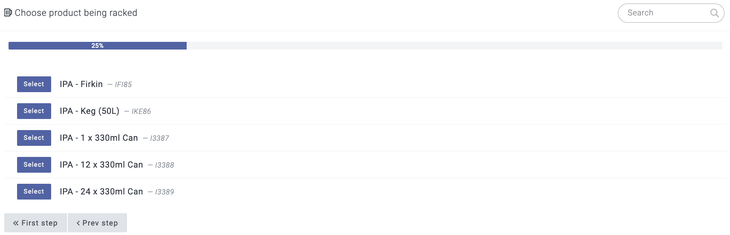
Once you have selected the vessel, you will then be able to choose the product that you are going to package.
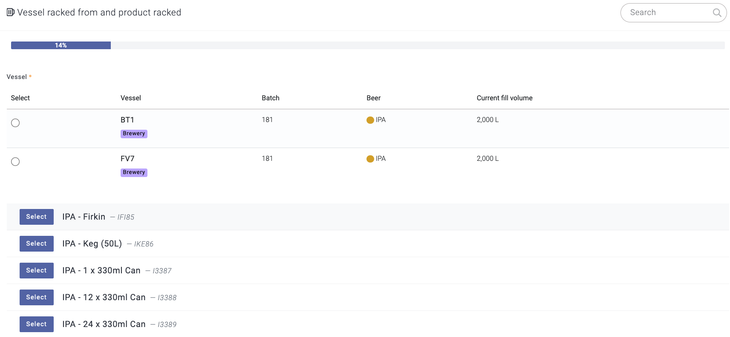
Alternatively, if you're already on the batch in question, you can use the Actions -> Package button. This will filter the vessel list to only those applicable to the batch in question, where you can select the vessel and product you are packaging.
You will then need to input the details around the packaging instance; how many containers are being used, time & date and losses. When selecting containers (for cask & kegs), you can either manually select any tracked containers used from the dropdown menu or use the Breww app to scan them in with your mobile device. You can input the number of non-returnables being used at this point if required.
If the products you are packaging are going to be assembled straight onto a pallet, you can do this at this stage of the packaging process by following the Pallet management help guide.
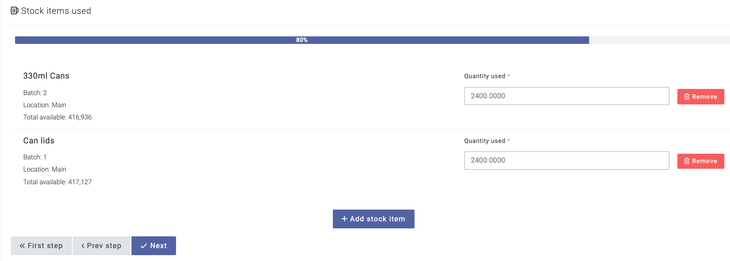
Once packaging details have been entered, you can proceed through the packaging flow and assign any additional stock items used, such as boxes or cans. These stock items will automatically pull through if already assigned to a container type or product.
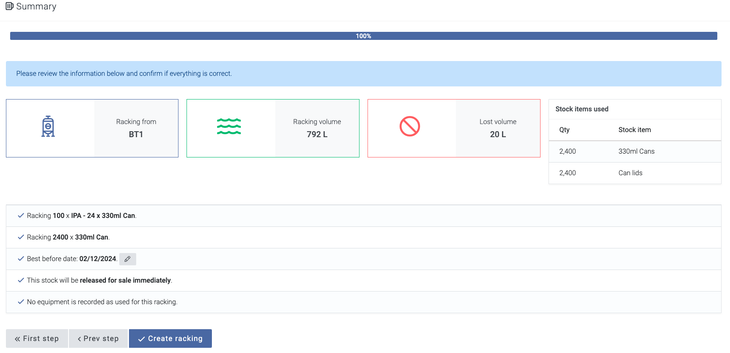
You will then be able to review a summary of your packaging and select whether to create the packaging, return to the previous step, or return to the first step of the process.
There is also an option to override your best-before date for the packaging by selecting the edit pencil next to Best before date. If you have set up your Best before rules, then the best-before date will be automatically calculated for you, but if this needs changing, then you can select this. Our Best before/expiry dates help article should guide you through how to set up best-before rules so that these are automatically calculated for you.
Once the packaging process is complete, you will have the option to print labels for all items packaged in this instance. If you prefer to print packaging labels in advance of entering the packaging into Breww, you can do this by adding your planned packaging to the batch, and then Breww will give you the option to print these labels. For more on planned packaging, please see the Planned packagings help guide.
As mentioned above, packaging of casks & kegs is supported in the Breww mobile app; this allows you to fill casks & kegs via the scanner (for iOS & Android). Using the mobile app allows you to use your device camera as a scanner to scan barcodes of any tracked containers you are packaging into/filling right from your phone. You can access the packaging function on the app to fill containers/package products by selecting the Package tab at the bottom of the screen. You will then be able to follow the same flow as above; however, you will be able to select the Open container barcode scanner button and scan your containers.
If you send beer off to be packaged via a 3rd party packager, please read our article on how this is managed in Breww.
For information on printing stock labels for your packaged beer, please see Printing stock labels.
How do I package directly from a container into another container, such as a minicask, keg, bottle or can?
In Breww, you can package directly from containers that have already been packaged, such as a keg/firkin/kilderkin/pin, to another cask/keg or to a smallpack container, such as a bottle or can. This tool allows you to repackage a beer into a different product; for example, you could repackage a keg, so the contents are transferred/re-packaged from the keg container into the cans.
To do this, go to Containers -> Actions & tools -> Package from containers and follow the steps presented.
Can I package directly into a non-bonded location?
It is not currently possible to package directly into a non-bonded location. You will need to package the goods at a bonded location, then make a separate transfer of the finished goods. This will ensure the correct entries to excise reports.