Breww allows you to track your brewing process flow, from starting the batch in the brewhouse all the way to packaging. Before you can produce any batches in the production suite, you will need to create your brewing systems and vessels.
Creating a brewing system
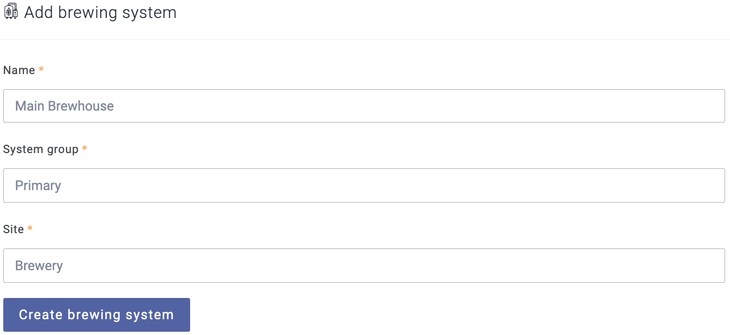
To create a brewing system in Breww, head to the production tab and select View->All equipment->Add equipment->Add brewing system. You can then simply give your brewing system a name, system group and site. The system group indicates whether it is a primary brewing system or a pilot brewing system.
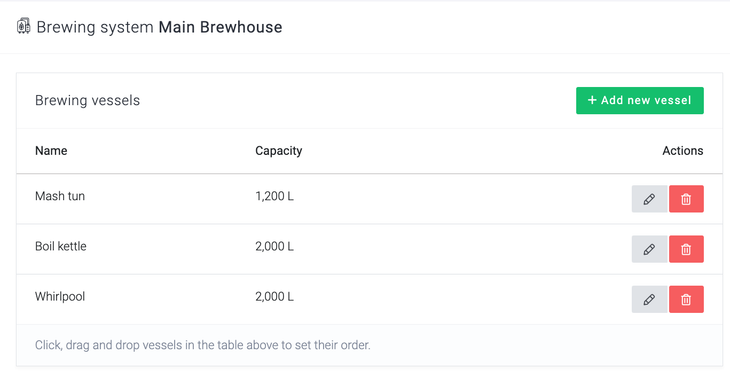
You will then be able to add the individual vessels within your brewing system by using the Add new vessel button, to represent the individual vessels that make up your brewing system. These will later be reflected on your brewsheet when brewing, enabling you to visually track your process flow.
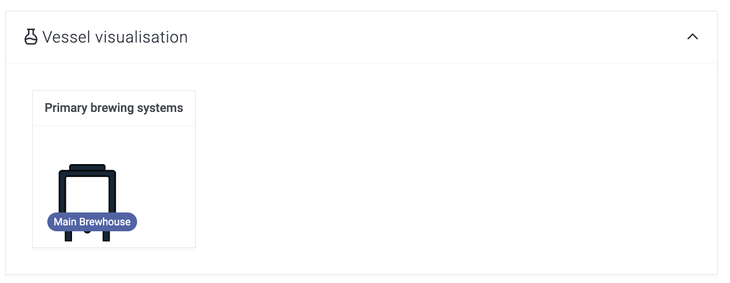
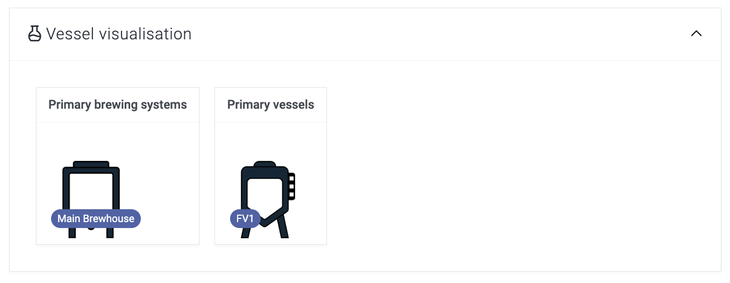
Your brewing system will now be displayed on your production dashboard.
You can then replicate this process for any additional brewing systems that you use.
Creating vessels
Now that you have created your brewing system, you can now create your brewing vessels. Brewing vessels in Breww are split into three vessel groups, however, you can customise these. You can then create different vessels from vessel types within these vessel groups.
Pre-set vessel groups
-
Primary
-
Secondary
-
Pilot
Vessel types
-
Fermenter
-
Brite tank
-
Holding tank
-
Arlington
-
Barrel
-
Yeast brink
To find out how to create your own custom vessel groups and use these in your batch schedule, please check out Vessel groups help guide.
How to create a vessel
If you are looking at creating multiple vessels, this can be done via the Vessels bulk Importer. This can be found by going to Settings->Data imports and updates->Vessels. You can then follow the Data import guide to import your vessels.
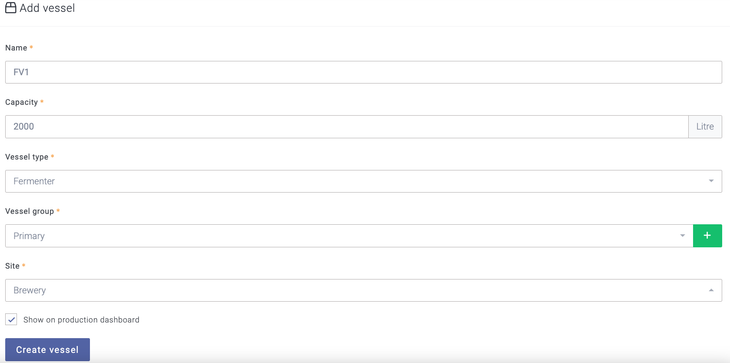
You can create a single vessel by selecting View->Vessels->New vessel. You will then be able to add your vessel details and choose whether to Show on production dashboard. It is worth noting that when entering the vessel capacity, this should be the full volume of the vessel, including the headspace.
If you have chosen the vessel to show on the dashboard, then you will now see the vessel displayed within your chosen vessel group.
This same vessel creation can then be followed for your other vessels.
Vessel icons
You can also create vessel status icons for your vessels, allowing you to create a visual prompt as to the status of a vessel on the production dashboard. Our Vessel status icons help article guides you through how these can be set up.
Planning vessel usage
You can plan batches in the Batch schedule, both manually and by creating an automatic schedule that can be assigned to a recipe. Our Vessel plans guide outlines how to schedule batches in Breww and plan your vessel usage.
QR codes for quick access
We highly recommend printing out QR codes, which can be stuck onto each vessel (and other equipment). Scanning these barcodes with your mobile device, will open Breww to a mobile-optimised page to assist with quick access to the most commonly used functionality, such as cleaning & maintenance records, adding fermentation readings and accessing the related beer/dink batch.
Once your equipment has all been created in Breww, head to Production -> View -> All equipment and use the Print equipment labels button to generate a PDF file to assist with printing the QR codes. It is possible to select multiple pieces of equipment to create labels in bulk and choose to print them as 2x1 thermal labels (as per permanent container labels), label sheets, or plain full-page paper (A4 or US Letter, depending on your account settings).
Labelling all your equipment will save you lots of time in the future when performing everyday tasks related to the equipment.
Just getting started with Breww? The next guide is How to build your recipes and brew sheets in Breww or you can return to the 🧰 Getting Started Guide.